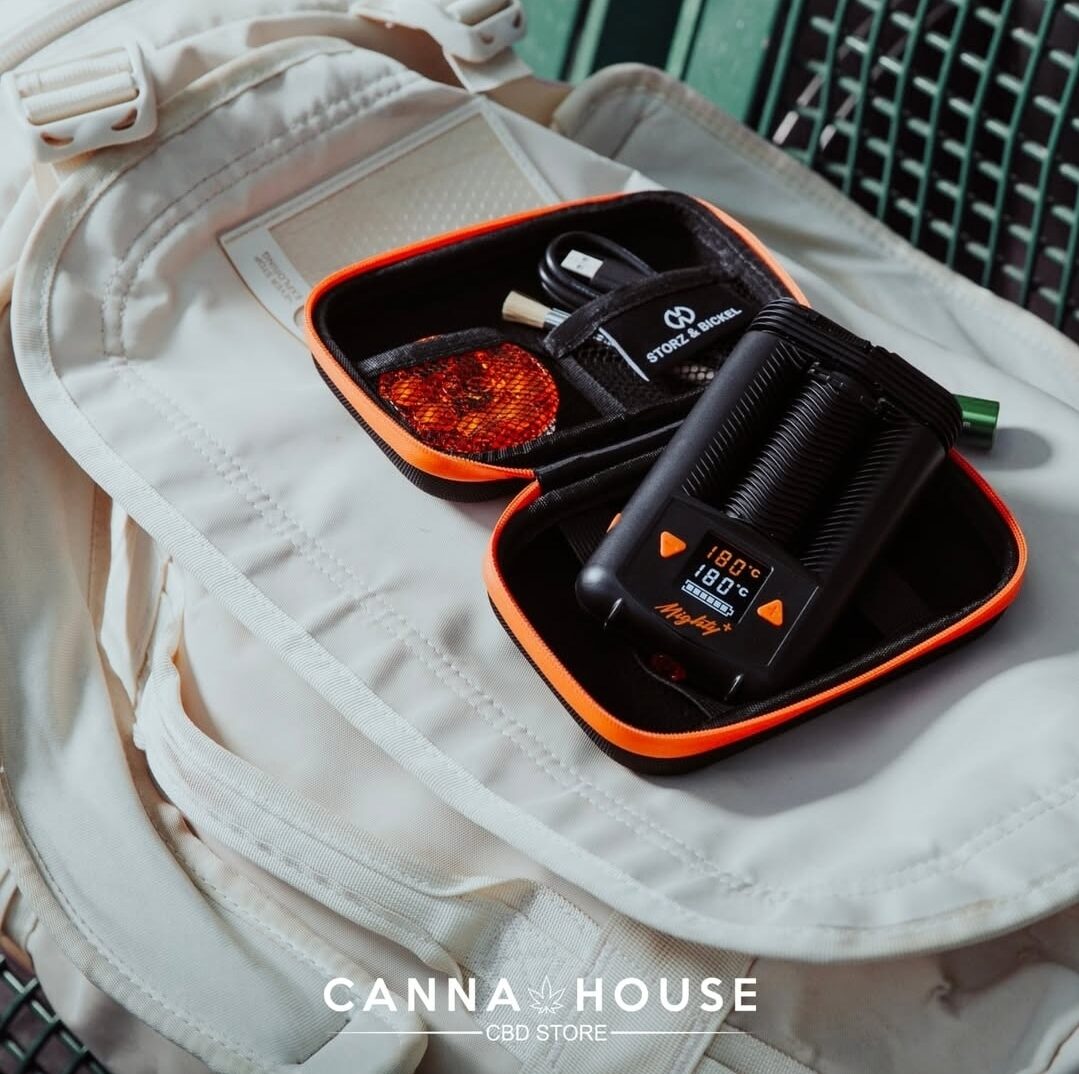
How to clean your herb vaporizer?

When first used, every steam is smooth, tasty and pleasant. But after a few weeks, residues build up and steam quality can drop dramatically. By adopting a regular cleaning routine, you can avoid an all-too-common scenario: wasting good herbs because of a clogged appliance.
In addition to maintaining optimal performance and intact aromas, careful maintenance protects your investment over the long term. In this guide, find out why it's essential to clean your vaporizer, and how to do it step by step, depending on the type of vaporizer.
Why should you clean your vaporizer?
As your herbs don't undergo combustion during vaporization, there's no smoke to speak of. However, this doesn't mean that your device will remain impeccable. Over time, sticky residue builds up, much like with a traditional bong or pipe - just slower and less visible.
1️⃣ Better taste and performance
As you use your vaporizer, residues from your herbs gradually settle on various parts of the device. They can clog the heating chamber or vents, and cling to key components such as the heating element. The result: reduced performance and less pleasant aromas. Regular maintenance guarantees tasty steam and optimal performance over time.
2️⃣ Extend the life of your vaporizer
When important parts become coated with a sticky mixture of resin and plant material, and cleaning is neglected, the life of the unit can take a serious hit. In extreme cases, irreversible damage can even occur. Periodic cleaning is therefore the best way to ensure that you enjoy your vaporizer for many years to come.
3️⃣ Cleaner steam
Too much residue can alter the purity of your vapor and reduce the pleasure of your sessions. By keeping your device clean, you maintain a smoother experience, without unwanted aftertastes or a heavy feel.
When to clean your vaporizer ?⏱️
There are two complementary ways to maintain your vaporizer:
🔹 Fast, everyday cleaning
After each use, it only takes a few minutes to remove visible residues and prevent them from building up. It's quick and easy, and keeps your machine ready for the next session.
🔹 Deep cleaning
To be carried out every 1-2 weeks (depending on frequency of use), this involves dismantling the removable parts and cleaning them thoroughly. This step is also recommended if you change the type of herbs you use, or if you alternate between flowers and concentrates. After this thorough cleaning, your vaporizer is back to its fresh, residue-free state, ready to deliver pure aromas once again.
Set up a daily cleaning routine
Regular maintenance keeps your vaporizer at peak performance and preserves aromas. Here's how to do it in just a few minutes:
1️⃣ Prepare your equipment
Brush supplied with the unit (or, failing that, a small brush)
Firm bristles for effective residue removal
Optional: pipe cleaner or cotton swab
Soft cloth soaked in a little alcohol
2️⃣ Empty and brush
Gently remove your herbs from the heating chamber
Brush the inside to remove any residue build-up
If your appliance contains sieves, brush them carefully.
3️⃣ Clean mouthpiece
Brush or pipe cleaner inside
Finish by wiping the outside and inside with a cloth soaked in alcohol.
4️⃣ Express drying
Allow the cleaned parts to dry for a few minutes before using again.
Deep cleaning: Dry herb sprays
Careful disassembly: Refer to your appliance manual and remove removable parts (mouthpiece, herbal chamber, sieve, steam tube, etc.). Set aside any electronic or fragile parts.
Shaking off residues: Gently tap each part to remove any remaining plant matter. Use the kit's brush (or a pipe cleaner) to loosen deposits, especially in the heating chamber and mouthpiece.
Clean the sieves first: Remove the sieves from the herb chamber and brush them thoroughly. A clogged sieve is often the main cause of loss of flavor and reduced performance.
Degrease with isopropyl: After brushing, soak a cotton bud or pipe cleaner in 99% isopropyl alcohol and run it over your herb chamber, screens and mouthpieces. This will dissolve stubborn residues.
Targeted soaking (optional): For heavily encrusted parts (especially sieves), soak for 20-30 minutes in 90% alcohol, rinse with clean water, then dry with absorbent paper.
Clean and safe battery compartment: Remove the battery if it is removable. Gently brush the compartment to remove any dust, then wipe the contacts with a dry cloth. Never apply alcohol or liquids to the battery or its contacts.
Completely dry and reassemble: Allow all parts to air-dry thoroughly. Reassemble the unit, then brush the outside to finalize.
Vacuum cycle for finishing: Run a vacuum heating cycle for a few minutes to evacuate all traces of alcohol and restore clean aromas during the next session with your herbs.
Tip: Work in a well-ventilated area, keep alcohol away from sources of heat, and never immerse electronic parts.
Cleaning guide - Sprayers for concentrates
Concentrate residues are tough to remove, but proper cleaning will preserve the flavor and performance of your machine.
1. Careful disassembly
Refer to the instructions for use to ensure correct removal of mouthpiece, heating chamber and any accessories.
Set aside any electronic parts or the battery.
2. Cleaning the heating chamber
Soak a cotton bud or pipe cleaner inisopropyl alcohol.
Gently rub the inside to remove any sticky residue.
⚠️ Be careful with the resistance: this is the most fragile part, so don't apply pressure.
3. Other parts to be processed
Mouthpiece: wipe with soaked absorbent cotton.
Glass tubes and metal sieves: soak in alcohol for 20-30 minutes, then rinse with clean water and dry thoroughly.
4. Battery and compartment
Open the compartment, remove the battery and wipe the contacts with a dry cloth.
Never put liquids on electronic parts.
5. Drying and reassembly
Allow each part to air-dry completely.
Reassemble, ready for next use with a clean taste.
💡 Regular maintenance tip: a quick swipe with a cotton bud after each session prevents residue build-up and simplifies major clean-ups.


